This tutorial will show you how to setup and run an optimization using a component you’ve already defined.
The organization of this run script and its use of the Problem class is the basis for executing all models in OpenMDAO.
Optimization of Paraboloid#
To start out, we’ll reuse the Paraboloid component that we defined in the previous tutorial.
We’ll add that component to construct our model inside a Problem.
You’ve already used Problem in the run script from the previous tutorial on the paraboloid analysis,
but we’ll take a closer look now.
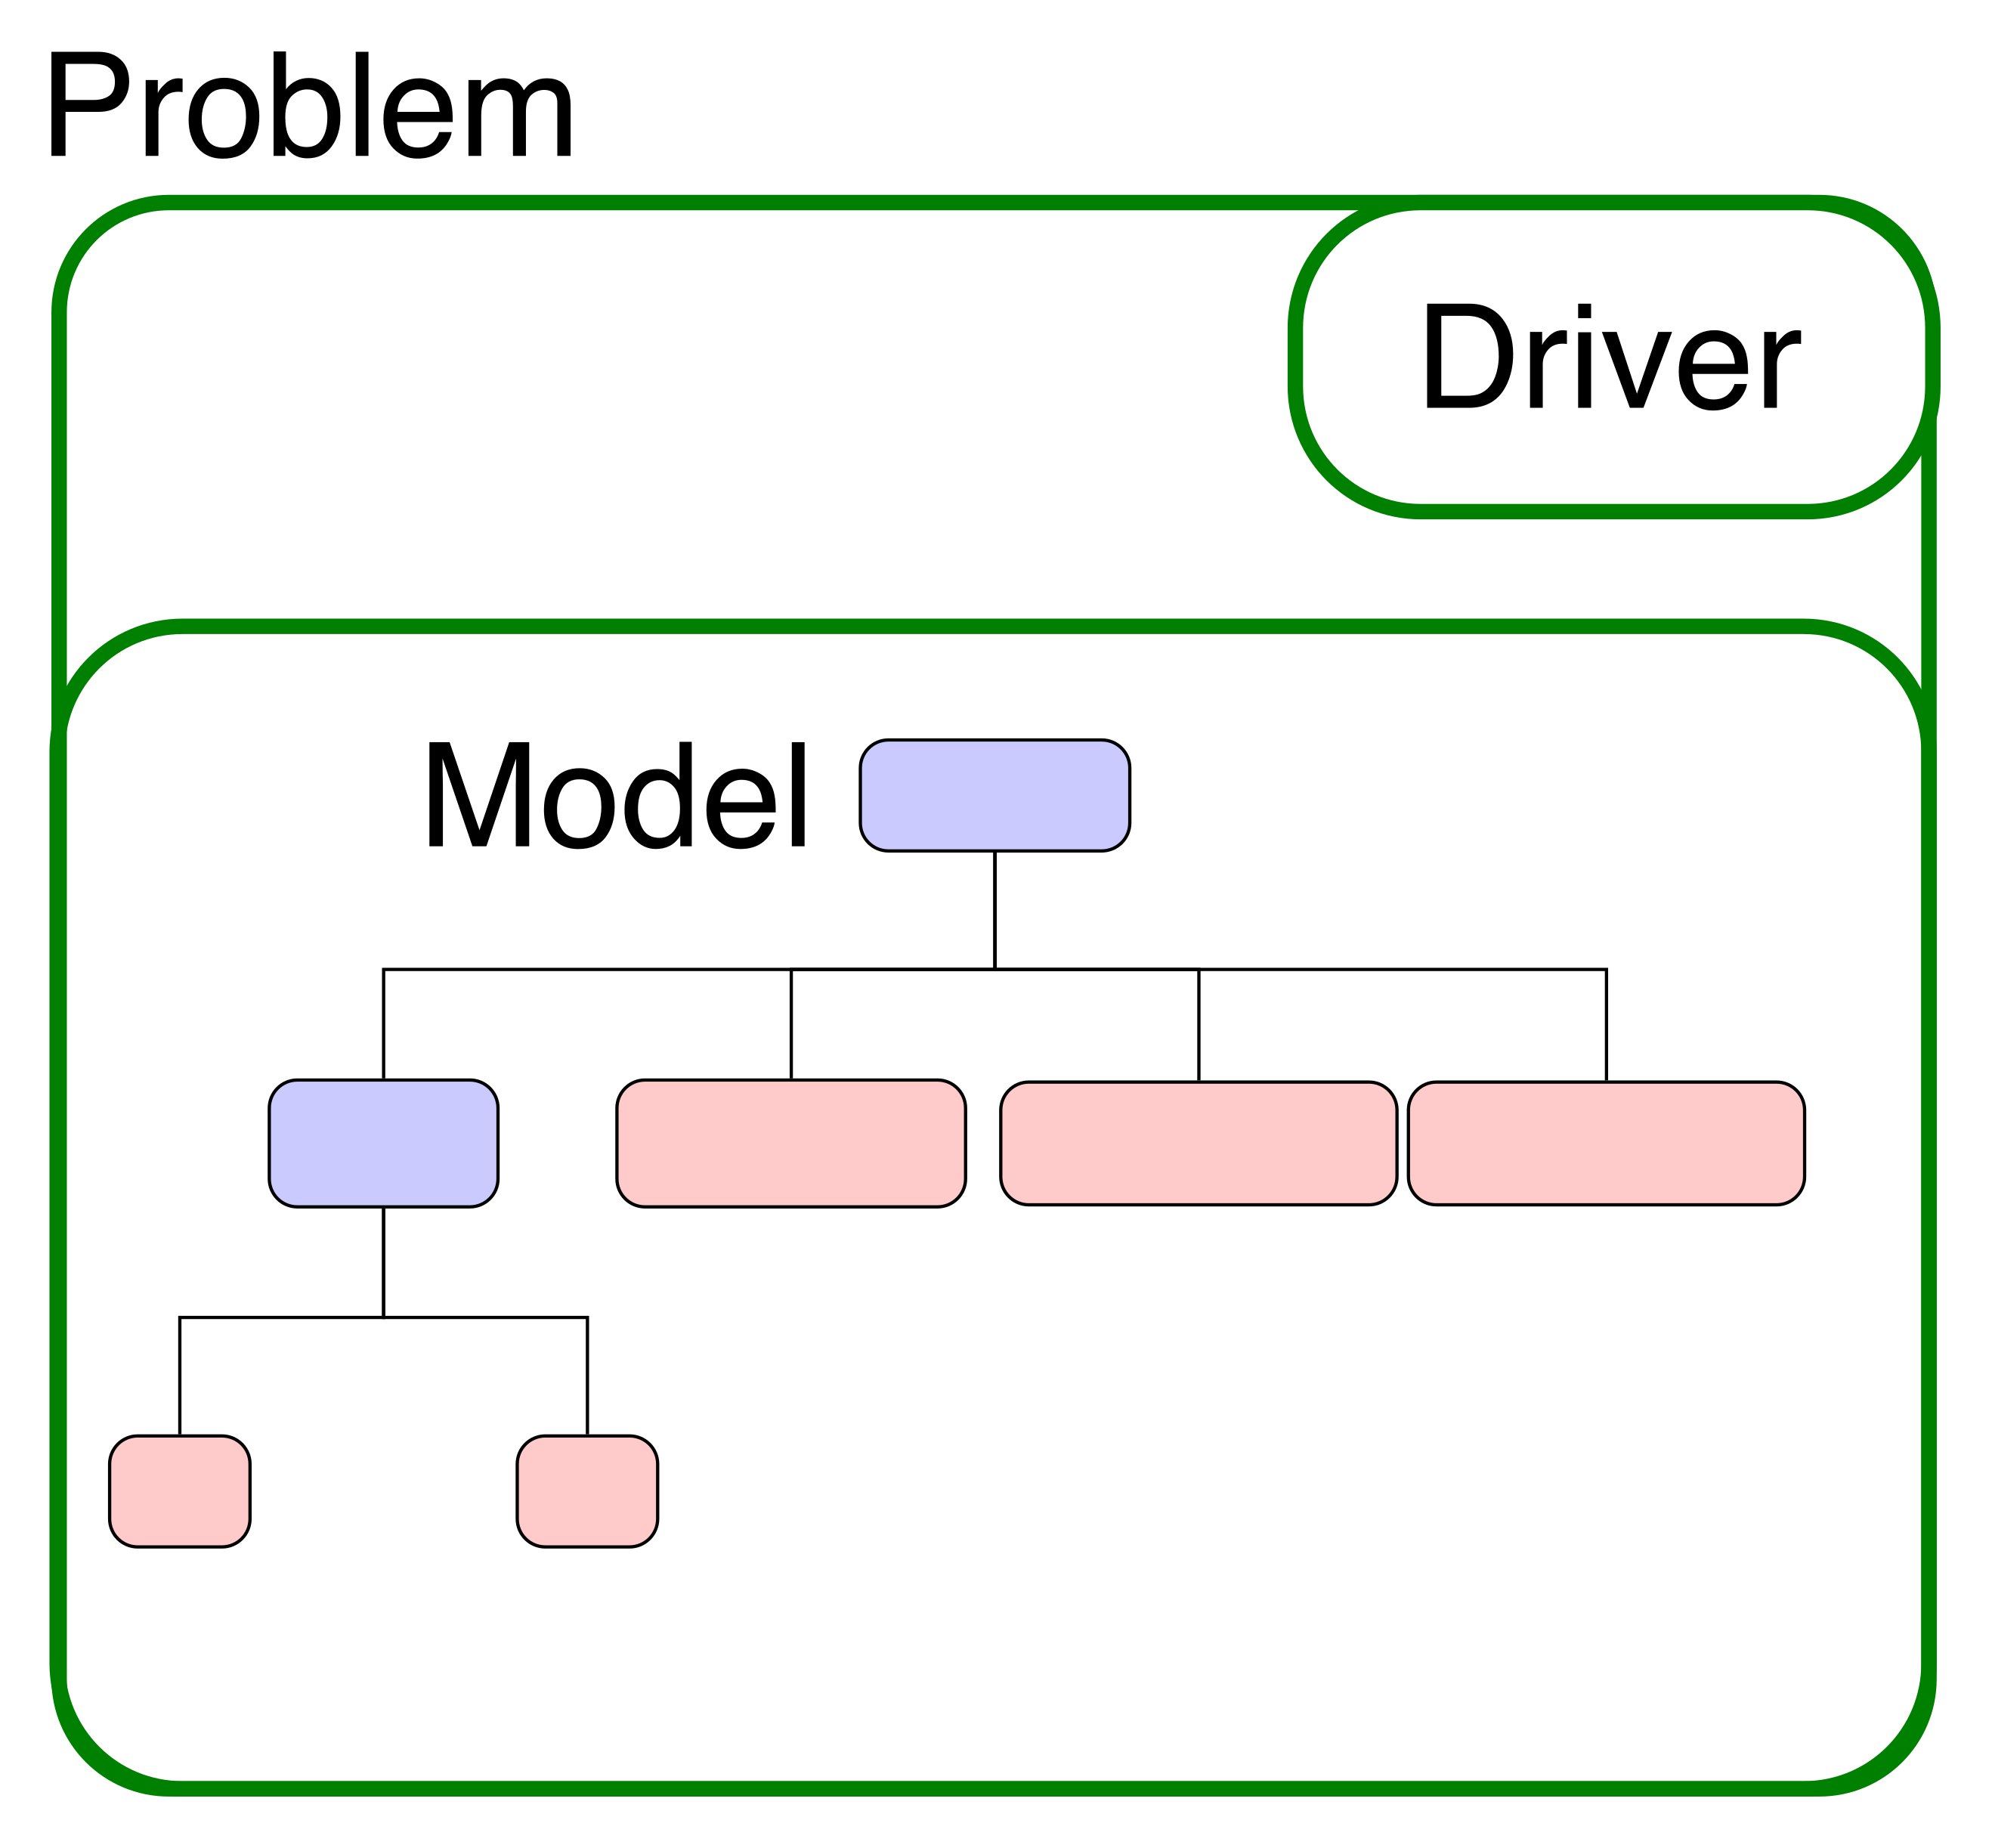
All analyses and optimizations in OpenMDAO are executed with an instance of the Problem class.
This class serves as a container for your model and the driver you’ve chosen,
and provides methods for you to run the model and run the driver.
It also provides a interface for setting and getting variable values.
Every problem has a single driver associated with it; similarly, every problem has a single model in it.

The Run Script#
# We'll use the component that was defined in the last tutorial
from openmdao.test_suite.components.paraboloid import Paraboloid

import openmdao.api as om

# build the model
prob = om.Problem()
prob.model.add_subsystem('parab', Paraboloid(), promotes_inputs=['x', 'y'])

# define the component whose output will be constrained
prob.model.add_subsystem('const', om.ExecComp('g = x + y'), promotes_inputs=['x', 'y'])

# Design variables 'x' and 'y' span components, so we need to provide a common initial
# value for them.
prob.model.set_input_defaults('x', 3.0)
prob.model.set_input_defaults('y', -4.0)

# setup the optimization
prob.driver = om.ScipyOptimizeDriver()
prob.driver.options['optimizer'] = 'COBYLA'

prob.model.add_design_var('x', lower=-50, upper=50)
prob.model.add_design_var('y', lower=-50, upper=50)
prob.model.add_objective('parab.f_xy')

# to add the constraint to the model
prob.model.add_constraint('const.g', lower=0, upper=10.)

prob.setup()
prob.run_driver();
Return from COBYLA because the trust region radius reaches its lower bound.
Number of function values = 50   Least value of F = -26.99999999999995   Constraint violation = 0.0
The corresponding X is: [ 7.00000022 -7.00000022]
The constraint value is:
[-57.00000022 -42.99999978 -42.99999978 -57.00000022   0.
 -10.        ]

Optimization Complete
-----------------------------------
# minimum value
print(prob.get_val('parab.f_xy'))
[-27.]
# location of the minimum
print(prob.get_val('x'))
print(prob.get_val('y'))
[7.00000022]
[-7.00000022]
Although we defined the Paraboloid component in a previous tutorial, we wanted to add an additional equation to our model.
Since it was a very simple equation, we used the ExecComp to quickly add the new output to our model, so that we can constrain it.
Once you have defined the necessary output variable, you just have to add it to the problem formulation so the driver knows to actually respect it. For this toy problem it turns out that the constrained optimum occurs when x = -y = 7.0, so it’s actually possible to get the same answer using an equality constraint set to 0. We included both options in the tutorial for your reference.
Note
ExecComp is a useful utility component provided in OpenMDAO’s standard library that lets you define new calculations just by typing in the expression. It supports basic math operations, and even some of numpy’s more advanced methods. It also supports both scalar and array data as well.
Setting a Driver#
Telling OpenMDAO to use a specific optimizer is done by setting the driver attribute of the problem.
Here we’ll use the ScipyOptimizeDriver, and tell it to use the COBYLA algorithm.
    prob.driver = om.ScipyOptimizeDriver()
    prob.driver.options['optimizer'] = 'COBYLA'
Defining the Design Variables and Objective#
Next, we set up the problem formulation so that the optimizer knows what to vary and which objective to optimize. In these calls, we are going to be specifying a single variable. For add_design_var, the variable will be a component input. If the input is promoted, then it will be the promoted name. For add_objective and add_constraint the variable can be the output of any component.
    prob.model.add_design_var('x', lower=-50, upper=50)
    prob.model.add_design_var('y', lower=-50, upper=50)
    prob.model.add_objective('parab.f_xy')
    prob.model.add_constraint('const.g', lower=0, upper=10.)
Note
Although these calls always point to a specific variable, that variable doesn’t have to be a scalar value. See the feature docs for adding design variables, objectives, and constraints for more details.
Finally, we call setup(), and then run_driver() to actually execute the model, then we use some print statements to interrogate the final values.
